Repot or wait? If you’re obsessing about your anthuriums like I am, then I bet you’ve asked yourself this question more than once. Well, you’ve come to the right place.
This blog is your ultimate guide on everything you need to know about repotting anthurium plants at home. It covers when to repot, when not to repot, how to repot, and other unique information related to repotting anthurium at home.
WHEN TO REPOT ANTHURIUM PLANTS
Anthuriums like to be root bound. So don’t rush to repot if you see your anthurium pot bound. Before you repot your anthurium, make sure it’s absolutely necessary. I hear you say, “how can I tell if it’s time to repot?” Here is how I decide if my anthurium is in need of repotting.

HOW TO TELL IF IT IS TIME TO REPOT
NEW LEAVES ARE NOT SIZING UP
When your anthurium pushes out new growth, but the leaves are not getting bigger in size, it might be a sign that your anthurium is root bound and doesn’t have enough soil to absorb nutrients.
Check for pests which are the biggest culprit of stunted growth. If you can’t see obvious signs of infestation, check the roots.
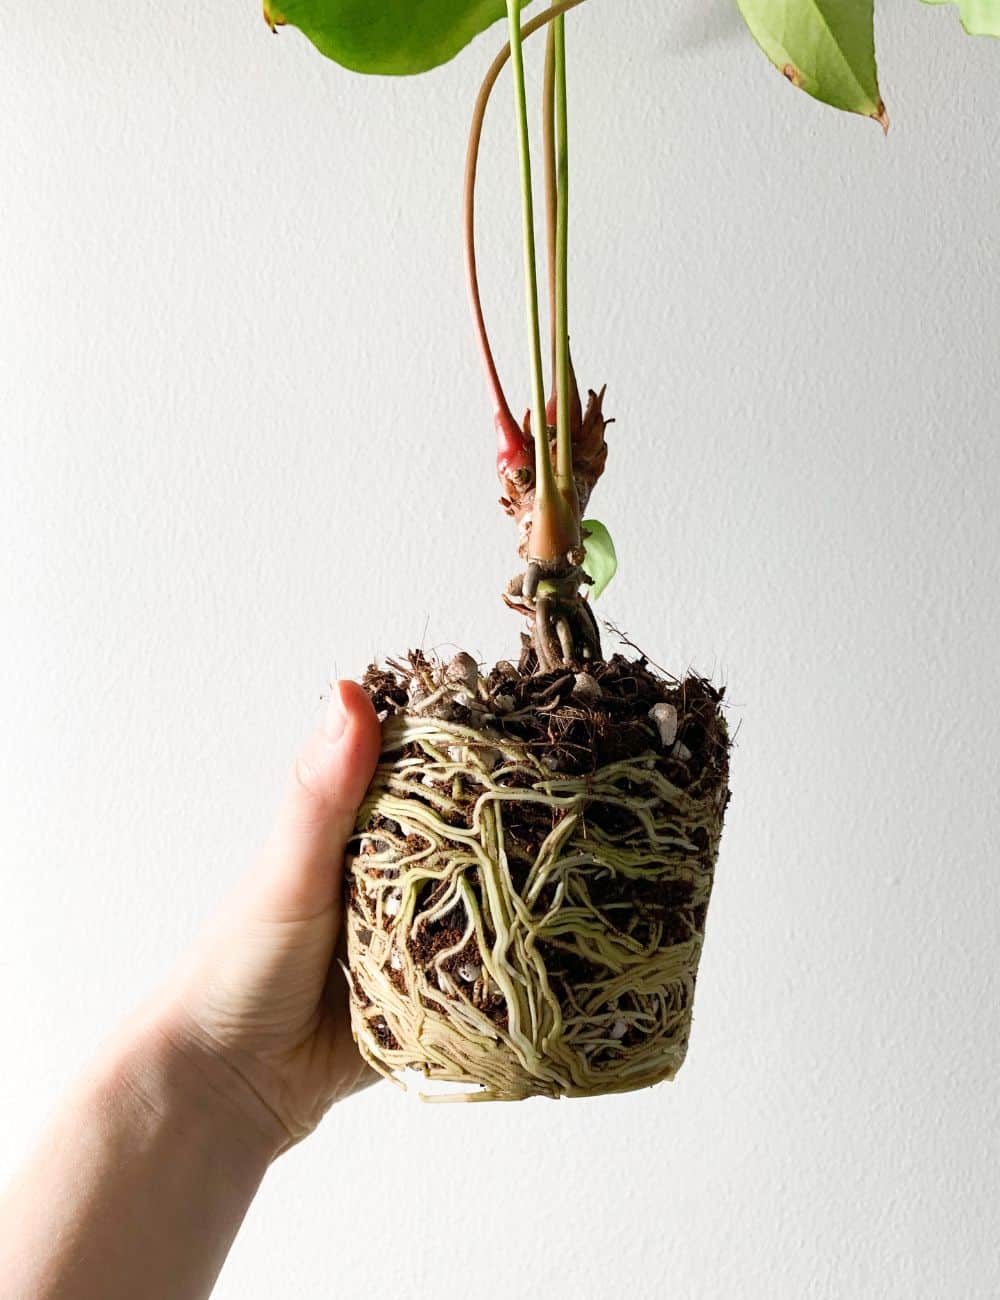
ROOTS CIRCLE AT THE BOTTOM OF THE POT OR COME THROUGH THE DRAINAGE HOLES
When I see roots coming through the drainage hole, I don’t immediately repot my anthuriums. It might just mean that roots are searching for moisture because I didn’t provide enough in between waterings.
I check if the root ball is substantial and if the roots are circling at the bottom of the pot before I decide if I should start the repotting process.
CAN’T SQUISH THE POT
Usually, when you can squish a pot, it’s a sign there is still some room for roots to grow. But when it feels stiff and doesn’t give away when you press it, the root ball is firm and has already taken all the space in the pot. Time to repot!
PLANT IS DECLINING
When you see an overall decline of the plant (no new growth for a while, yellowing leaves, catching pests more often), it might be because of nutrient deficiency.
If you have had your anthurium in the same pot for a long time, the plant has already used the initial nutrients from the potting soil. Even if you regularly fertilize, it might not have been enough.
First, check if there aren’t any pests (spider mites or thrips) as, more often than not, they are the reason for the plant’s decline. If no pests are in sight, give your anthurium fresh potting mix and add a scoop of worm castings for an extra organic nutrient boost.
IN THE SAME POTTING MIX FOR 2-3 YEARS
Even if your anthurium is not root bound, but you haven’t repotted it in 2-3 years, it is time.
In this case, the main reason for a repot is to prevent the negative consequences of the build-up of mineral salts from tap water over time.
These can negatively impact your anthurium. It is an unlikely scenario as healthy anthuriums are quite vigorous root growers, and in my experience, anthurium repotting is on a regular schedule in my home.
YOU HAVE TO WATER FREQUENTLY
If you have to water your tropical plant very often because the water just drains through the potting soil and the roots dry out too quickly, it might be the time to repot. Usually, other signs such as firm root ball will also be present.
YOUR ANTHURIUM HAD ROOT ROT
Root rot is caused by soil-borne fungi. It’s a disease that causes root deterioration. These fungi thrive in very wet conditions; root rot usually happens through overwatering.
If you see your plant wilting even though the potting soil is wet, it’s a sign that the roots can’t absorb water and nutrients anymore. If and how to treat root rot is for another article.
But if you want a chance of saving your anthurium from declining, fresh potting soil is a must.
WHEN IS THE BEST TIME TO REPOT
The prevailing opinion on when to repot plants is in springtime if you live in a climate with four seasons. But I would put much less weight on the actual time of the year.
If your plant continues to grow, and if you’re growing your anthuriums indoors, in controlled environment, as I do, seasons don’t matter. Repot your anthurium when the plant needs it and ignore the seasons.
WHEN ANTHURIUM REPOTTING IS NOT ADVISABLE
- WHEN IT’S THRIVING, DON’T TOUCH IT!
Plant parents often overthink plant care. And anthurium enthusiasts are not an exception to this. Observe your plant, and if it continues healthy growth, why touch it? When you repot an anthurium, you are disturbing its roots. Try to avoid it as much as possible if you want to see your plan thriving.
- IT PUSHES OUT NEW GROWTH
If your anthurium pushes out a new leaf, has an inflorescence forming, or the latest leaf hasn’t hardened off yet, wait! These processes take a lot of energy from the plant, and it is best to let your anthurium do its thing before you disturb its roots.
- IMMEDIATELY AFTER BRINGING THE PLANT HOME
Resist the temptation of repotting your anthurium immediately after you bring it home, even if the potting mix it is in is not suitable for optimal growth.
Let the plant acclimate to your growing conditions before you unsettle it again. Give it a week, at least.
If you’re importing an anthurium, here is a helpful guide on things to consider when acclimating your aroid.
- IF IT IS STRESSED
So your anthurium just had spider mites infestation or went through other stress. It is best to wait until the plant stabilizes before repotting.
BENEFITS OF REPOTTING ANTHURIUM AT THE RIGHT TIME
1. GROWTH EXPLOSION
Seeing the next leaf significantly bigger after the repot is not unusual. My Anthurium radicans x luxurians almost immediately pushed out a new leaf, double in size compared to the last leaf. Thanks to a bigger pot, a new potting mix, and extra nutrients.
2. DISEASE & PEST PREVENTION
A severely root-bound plant will weaken over time and invite all sorts of pests and bacterial or fungal infections. Repotting in time means providing a healthy environment for the roots to grow. Healthy roots are the foundation of a healthy plant.
3. NEW NUTRIENTS
A depleted of nutrients, old potting soil has done its duty. A fresh new potting mix will provide the nutrients necessary for the next growth phase.
4. IMPROVED DRAINAGE
Over time the potting mix gets compacted. All the perlite comes up to the top or becomes a powder. A heavier substrate and peat moss land at the bottom of the pot.
This can impair proper drainage and decrease aeration, which is crucial for anthuriums. I don’t use peat moss for two reasons:
1) it’s not a sustainable substrate, and
2) it tends to accumulate fast at the bottom of the pot preventing proper drainage.

HOW TO REPOT ANTHURIUM – A STEP-BY-STEP GUIDE
OK, so you decided on anthurium repotting. Here is a simple step-by-step guide to repotting anthuriums with minimal disturbance.
1. GENTLY REMOVE IT FROM THE CURRENT POT
Squeeze the pot to loosen the potting mix. If you were using a chunky aroid mix, that should not be a problem.
Of course, this doesn’t apply to those that grow their anthuriums in terracotta pots. Most likely, you’ll have to destroy your beautiful terracotta pot.
Anthuriums love to attach their roots to the insides of terracotta pots, and it’s almost impossible to extract the plant without ripping off the roots.
That’s one of the reasons why I don’t grow my plants (except for sansevierias) in terracotta pots.
2. SHAKE OFF EXCESS SOIL
Remove the excess soil. Throw away, and don’t reuse the old soil. Many anthuriums are epiphytes, and their roots naturally attach to large substrates in your mix. Be it leca balls, pine bark, or coco chips.
Don’t try to rip the roots from the attached substrate. Instead, shake off the excess loose substrate and place the remaining roots with the attached chunks into the fresh soil mix.
3. DON’T TRIM THE ROOTS
Some advice on the internet says you can or should trim the roots. But why would you trim the healthy roots and shock the plant excessively? Just tease them a bit if you find the roots circling at the bottom of the pot. They will quickly find their way through the new soil mix.
4. PREPARE NEW POTTING MIX
Use chunky aroid mix with large pieces of pine bark or charcoal to which the roots can attach themselves. See my Anthurium veitchii blog for an aroid potting mix recipe.
5. PLANT IN THE NEW POT
I suggest using clear plastic pots with many drainage holes at the bottom. Simply put mesh tape at the bottom to prevent the soil from spilling.
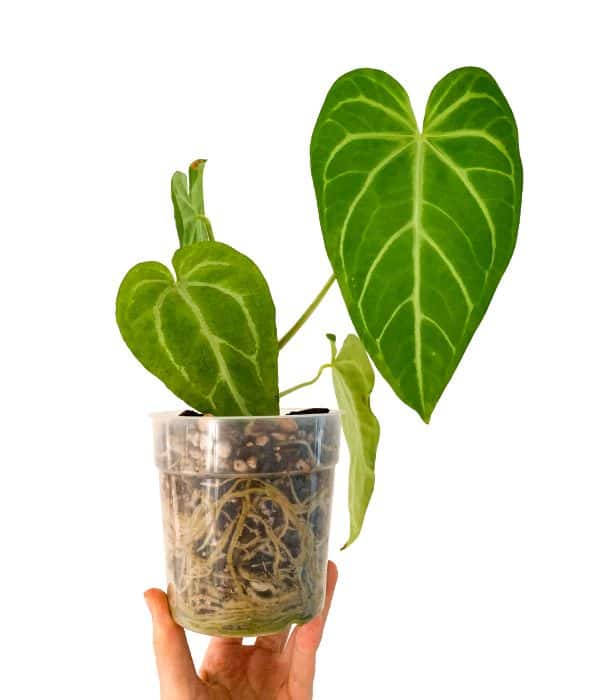
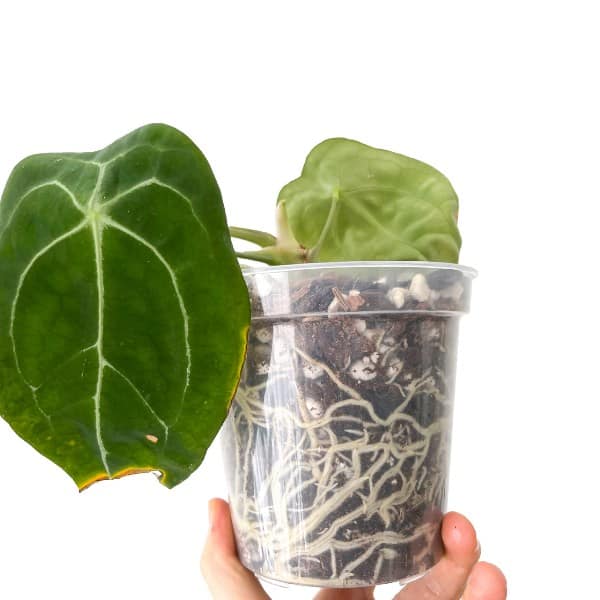
Clear plastic pots also have the added benefit: they allow for easy monitoring of root development. Use a plastic pot only slightly larger than the current one.
You want to avoid over-potting your anthurium as it won’t be able to absorb all the moisture from a larger mass of substrate. Over-potting is a recipe for root rot.
Net-like pots (think orchid pots) are great, but you’ll need to water your anthurium more often. Many aroid growers love terracotta pots as they are porous and suck out the excess water and soluble salts from the potting mix. In this case, also, more frequent watering is necessary.
Whichever container type you choose, ensure that it has good drainage holes. This allows excess water to drain and prevents the potting mix from being waterlogged.
6. WATER THOROUGHLY
Give your anthurium a good drink after repotting to set the potting mix.
Now sit back, relax, and wait for the new healthy growth to surprise you!
You may also be interested in these blogs:
Anthurium Crystallinum Care: A Complete Guide
9 Rude Looking Plants You Didn’t Know You Needed
Anthurium Villenaorum – Uncovering the Hidden Gem Among Aroids